sales@northerniceanddance.com
Plus -2 More
Free Shipping On Orders Over $50
Practice, Competition & Test
All of Your Favorite Skate Brands
All the Skating Essentials
The Rest of It!
Everything for practice, competition and test.
Professional fitting, mounting, adjustments and sharpening.
We're not just an online store, we're here to help you with what you need!
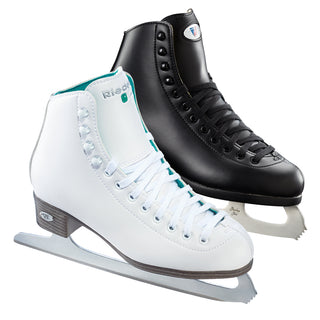
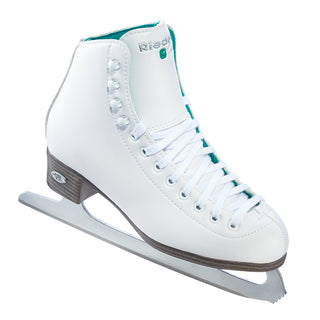
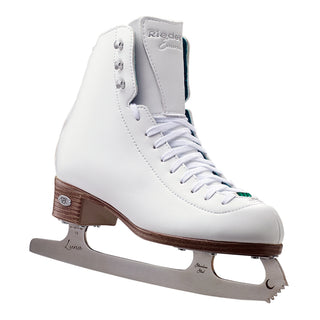
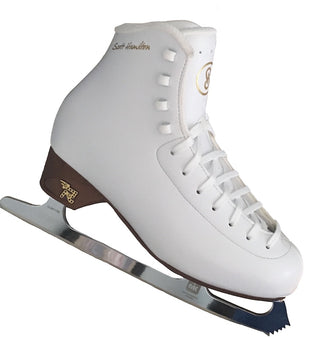
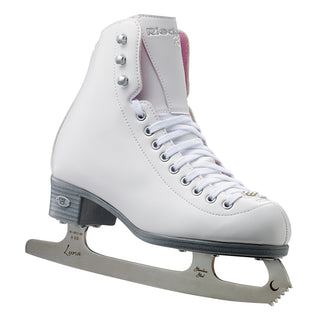
Riedell Skates
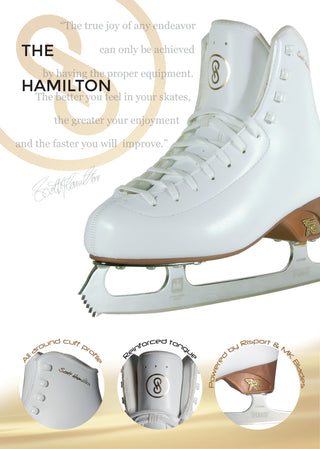
Risport Skates
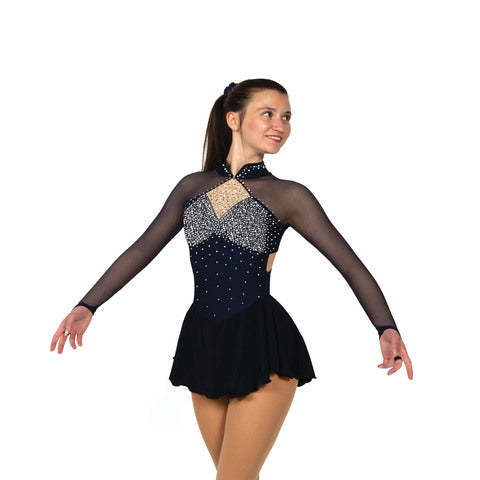
Solitaire Skatewear
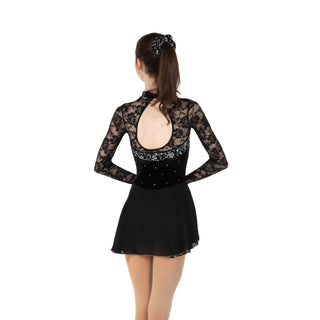
Jerry's Skating World
Aurora Ice